
Peanut Butter Protein Balls
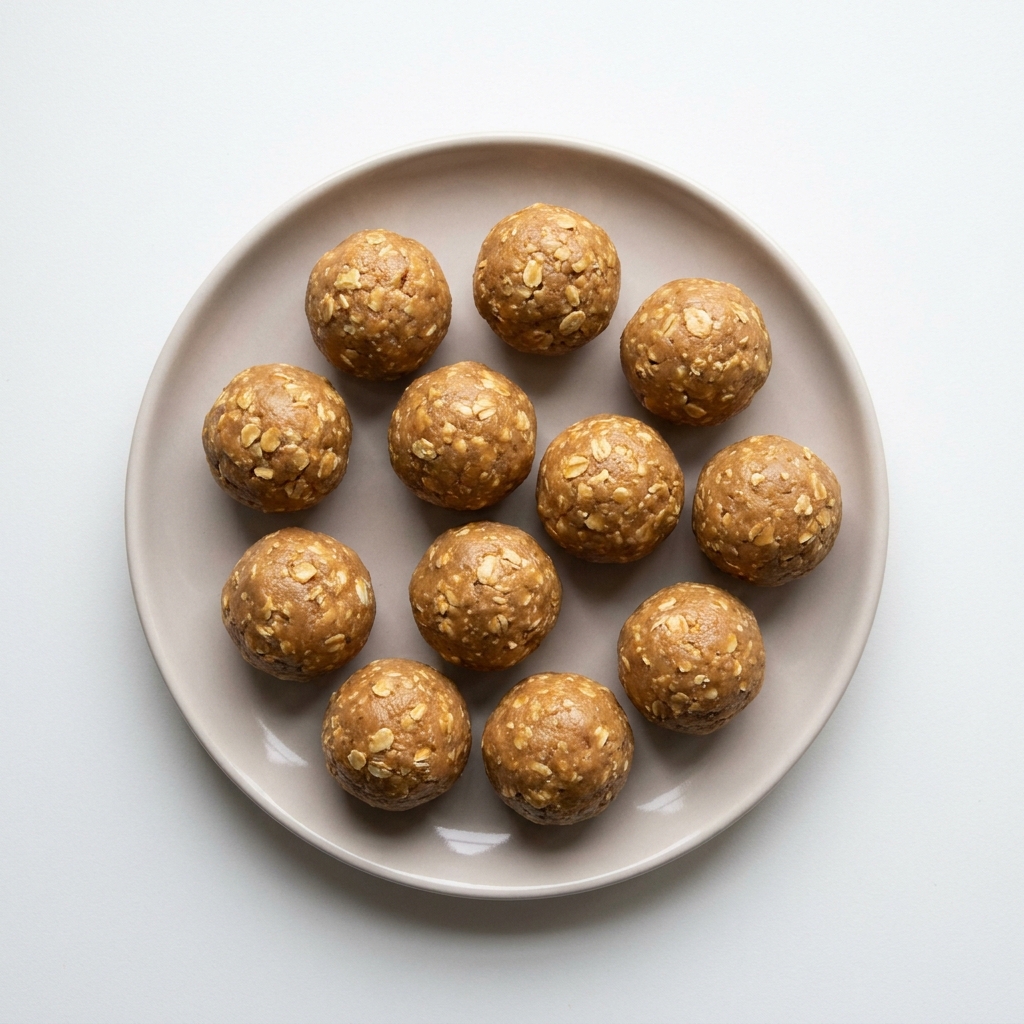
Rich and chewy no-bake protein balls combining vanilla and chocolate protein with creamy peanut butter and high-fiber psyllium husk. A practical, nutrient-dense snack scaled for easy meal prep.
Prep
15 min
Cook
0 min
Total
45 min
Makes
11 servings
Created together. Shared with you.
Made by Megan + Lila
Megan created this recipe with Lila and shared it with the perimenopause community.
The feel-good payoff
Why this meal can feel especially good in perimenopause
Think practical wins: steadier energy, comfortable fullness and one less food decision. Your response is personal, so use the prompts below to notice what works for you.
Perimenopause symptoms and relief · Office on Women’s HealthComfortably satisfied
Fullness that has staying power
This meal is designed to feel substantial, so finishing it can feel like the meal is complete rather than the start of an evening of grazing.
Notice: fullness 2–3 hours later
Digestive comfort
A portion that works for you
Fiber and plants can support digestion, but more is not always better overnight. Start with a comfortable portion and build gradually.
Notice: comfort + portion
Steadier energy
Feel fueled, not flattened
A complete meal with protein, carbohydrates and fats is designed to offer more staying power than a quick carb-only fix.
Notice: energy 1–3 hours later
More staying power
Make the next few hours easier
This meal is built to be more sustaining than a snack-sized stopgap, with enough substance to carry you into the next part of the day.
Notice: energy + fullness later
Setup
Get set up
Choose your servings, gather what you need, then cook along below.
Prep
15 min
Cook
0 min
Total
45 min
How many are you cooking for?
The ingredient amounts update automatically.
Equipment
Sheet pan · Mixing bowl
Time saver
Prep the vegetables and measure pantry ingredients earlier in the day to shorten cook time.
Do these three things first
- 1Set out all ingredients before cooking
- 2Measure the pantry ingredients before heating the pan
- 3Read through the steps once before you begin
Ingredients
Gather as you go
Ingredients
Cook along
Instructions
0 of 9 steps complete
Next: Line a plate or baking sheet with…
- 01
Line a plate or baking sheet with…
Line a plate or baking sheet with parchment paper.
Ready when: everything is assembled and ready to enjoy
Tap card to mark done - 02
Combine the vanilla protein powder
In a large mixing bowl, combine the vanilla protein powder, chocolate protein powder, psyllium husk powder, and rolled oats until evenly mixed.
Look for: evenly mixed
Tap card to mark done - 03
Add the peanut butter and honey to…
Add the peanut butter and honey to the bowl.
Tap card to mark done - 04
Stir firmly with a sturdy spoon or…
Stir firmly with a sturdy spoon or spatula to bring the wet and dry ingredients together into a thick, crumbly texture.
Tap card to mark done - 05
Pour in 1/4 cup (60ml) of cold…
Pour in 1/4 cup (60ml) of cold water and press the dough together with your hands, kneading briefly until a cohesive, smooth fudge-like dough forms. If the mixture feels too dry to hold together, add 1 additional teaspoon of water at a time until workable.
Look for: a cohesive, smooth fudge-like dough forms
Tap card to mark done - 06
Divide the dough into 11 equal portions…
Divide the dough into 11 equal portions and roll each portion firmly between your palms into a smooth ball.
Ready when: everything is assembled and ready to enjoy
Tap card to mark done - 07
Arrange the protein balls on the lined…
Arrange the protein balls on the lined plate.
Ready when: everything is assembled and ready to enjoy
Tap card to mark done - 08
Cover and chill in the refrigerator for…
Cover and chill in the refrigerator for at least 30 minutes until set and firm.
Look for: set and firm
Tap card to mark done - 09
Serve immediately
Serve immediately, or store in an airtight container in the refrigerator for up to 7 days or freeze for up to 1 month.
Ready when: everything is assembled and ready to enjoy
Tap card to mark done
Made this recipe?
Leave a quick rating or a cooking tip for the next woman.
Your symptoms change. Your plan should too.
One good meal is a start. Your whole week is better.
Tell Lila what you like, what you avoid and which symptoms are loud today. She’ll turn that context into meals, targets and small adjustments that fit real life.